How to Winterize Outdoor Faucets in Pittsburgh: A Hose Bibb Guide
Every fall, one of the most common — and most preventable — plumbing repairs in Pittsburgh is a split outdoor faucet. The good news: learning how to winterize outdoor faucets in Pittsburgh takes about 15 minutes per faucet, costs almost nothing, and saves you from a pipe that bursts inside the wall. With a mild week in the forecast, now is the ideal time to do it.
Why Outdoor Faucets Freeze and Split
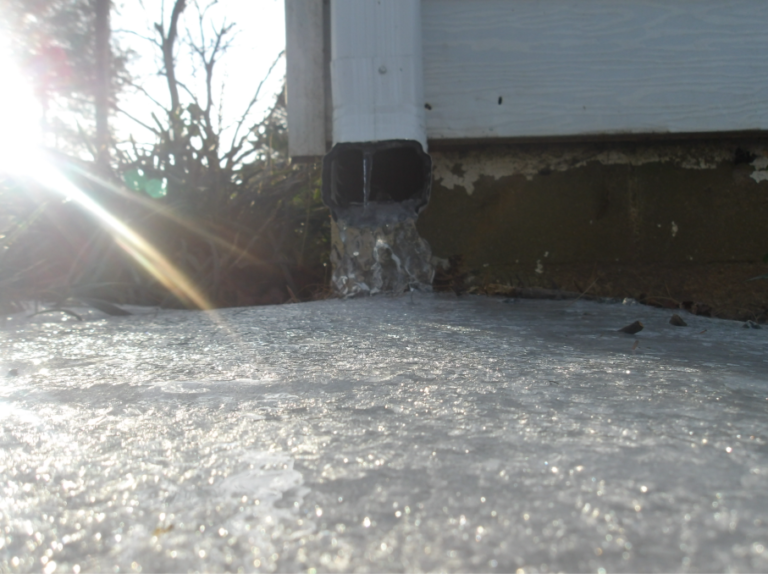
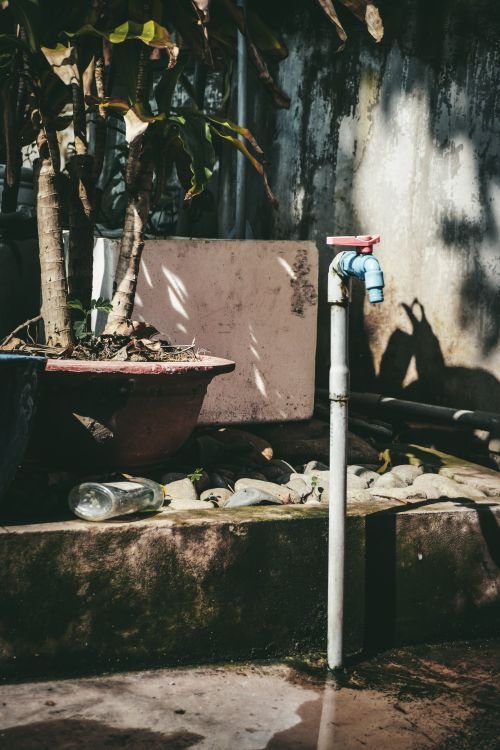
An outdoor faucet (hose bibb or sillcock) connects to a water pipe that runs through your exterior wall. When a garden hose stays attached into winter, water gets trapped in the faucet and the pipe behind it. That trapped water freezes, expands, and splits the pipe — often inside the wall, where the leak stays hidden until it damages drywall, flooring, or the basement below. Even so-called “frost-free” sillcocks fail if the hose is left connected, because the hose prevents the faucet from draining.
Step 1: Disconnect and Drain Every Garden Hose
Remove every hose from every outdoor faucet. Drain each hose fully — stretch it out on a slope or walk it downhill to push the water out — then coil it and store it in the garage or shed for winter. A hose left connected is the number-one cause of frozen hose bibbs, and this one step prevents most failures on its own.
Step 2: Shut Off the Interior Valve (If You Have One)
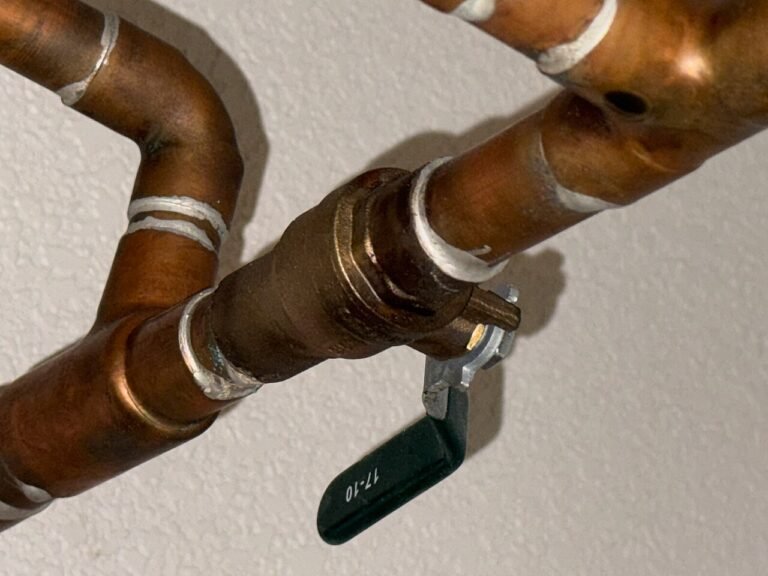
Many Pittsburgh homes — especially older ones — have a separate interior shut-off valve for each outdoor faucet, usually in the basement near the wall where the faucet exits. If yours does: 1. Close the interior shut-off valve. 2. Open the outdoor faucet fully to let any remaining water drain out. 3. Leave the outdoor faucet open through winter so any residual water has room to expand.
If you cannot find an interior shut-off valve, your faucets may be frost-free sillcocks designed to shut off water deep inside the wall. In that case, disconnecting the hose and adding a cover (Step 3) is the right procedure — but if you are unsure which type you have, a plumber can identify it in minutes.
Step 3: Add a Foam Faucet Cover
Foam faucet covers cost a few dollars at any hardware store and add an insulating air pocket around the faucet. They are not a substitute for disconnecting the hose, but they protect the faucet body from wind chill and brief cold snaps. Slip one over each outdoor faucet and secure it tightly against the wall. For frost-free sillcocks, a cover is cheap extra insurance.
Step 4: Insulate Exposed Pipe Near the Faucet
Check the pipe on the inside of the wall where the faucet exits — in the basement or crawl space. If that section of pipe is exposed and uninsulated, slip a foam pipe sleeve over it. This is the section that actually splits when a faucet freezes, so insulating it directly protects the weak point.
Step 5: Check for Drips and Damage Before Winter
Before you finish, turn the water back on briefly (if you shut it off) and check the faucet and the interior pipe for drips. A faucet that drips after winterizing may have a worn washer or a hairline crack from a previous freeze — replace it now rather than discovering the problem in January. Also check that the faucet handle operates smoothly; a stiff handle can indicate internal corrosion.
Frost-Free vs. Standard Sillcocks: What Do You Have?
Shut-off location | At the faucet, at the wall | 8–14 inches inside the wall.
Hose removal required? | Yes — always | Yes — still required.
Interior shut-off needed? | Recommended | Usually not present.
Winter protection | Drain + cover | Drain by hose removal + cover.
The takeaway is the same for both types: remove the hose. Frost-free is a design advantage, not a reason to skip winterizing.
Common Mistakes When Winterizing Outdoor Faucets
- Leaving the hose attached “just one more week.” One hard freeze is all it takes.
- Covering the faucet but leaving the hose on. The cover cannot drain trapped water.
- Closing the outdoor faucet after draining. Leave it open so residual water can expand harmlessly.
- Forgetting the back faucet. Side and rear faucets get overlooked — walk the full perimeter of the house.
- Ignoring a drip. A slow drip in October is a burst pipe in January.
FAQ
Q: When should I winterize outdoor faucets in Pittsburgh?
A: During the first mild stretch in late October, before sustained below-freezing nights arrive — typically in November. Doing it during a mild week like this one means you are not rushing the job in freezing weather.
Q: Do I need a faucet cover if I have a frost-free sillcock?
A: It is not strictly required, but it is cheap insurance. The critical step for frost-free faucets is removing the hose so the faucet can drain; the cover adds wind-chill protection on top.
Q: What if my outdoor faucet already froze last winter?
A: Check for drips at the faucet and on the interior pipe when the water is turned on. A split pipe often leaks only when the faucet is pressurized, so test it before cold weather returns and have any damaged section replaced.
Q: Can I winterize outdoor faucets myself?
A: Yes — disconnecting hoses, draining, and adding covers are straightforward homeowner jobs. If you cannot find a shut-off valve, suspect a cracked pipe, or have a faucet that will not stop dripping, call an emergency plumber in Pittsburgh rather than forcing a corroded valve.
Fifteen minutes per faucet now beats a burst pipe inside the wall later. Walk the perimeter of the house, pull every hose, drain and cover each faucet, and pair this job with the full Pittsburgh winter plumbing checklist so the whole system — not just the faucets — is ready for the cold months ahead.
Have a Plumbing Problem?
From drain and sewer problems to water heaters, hidden leaks and septic services, get professional help from Man Made Services.